.svg)
- Defining blacklisted prospects is an extremely important step in the sales process while using Samplead. Although it may sound bad, blacklisting a user prevents the AI program from suggesting or contacting a customer with an introductory message that is already further along in the sales process. This could greatly damage or completely ruin your relationship with a customer. With that being said, let’s learn how to blacklist a profile using Salesforce.com.
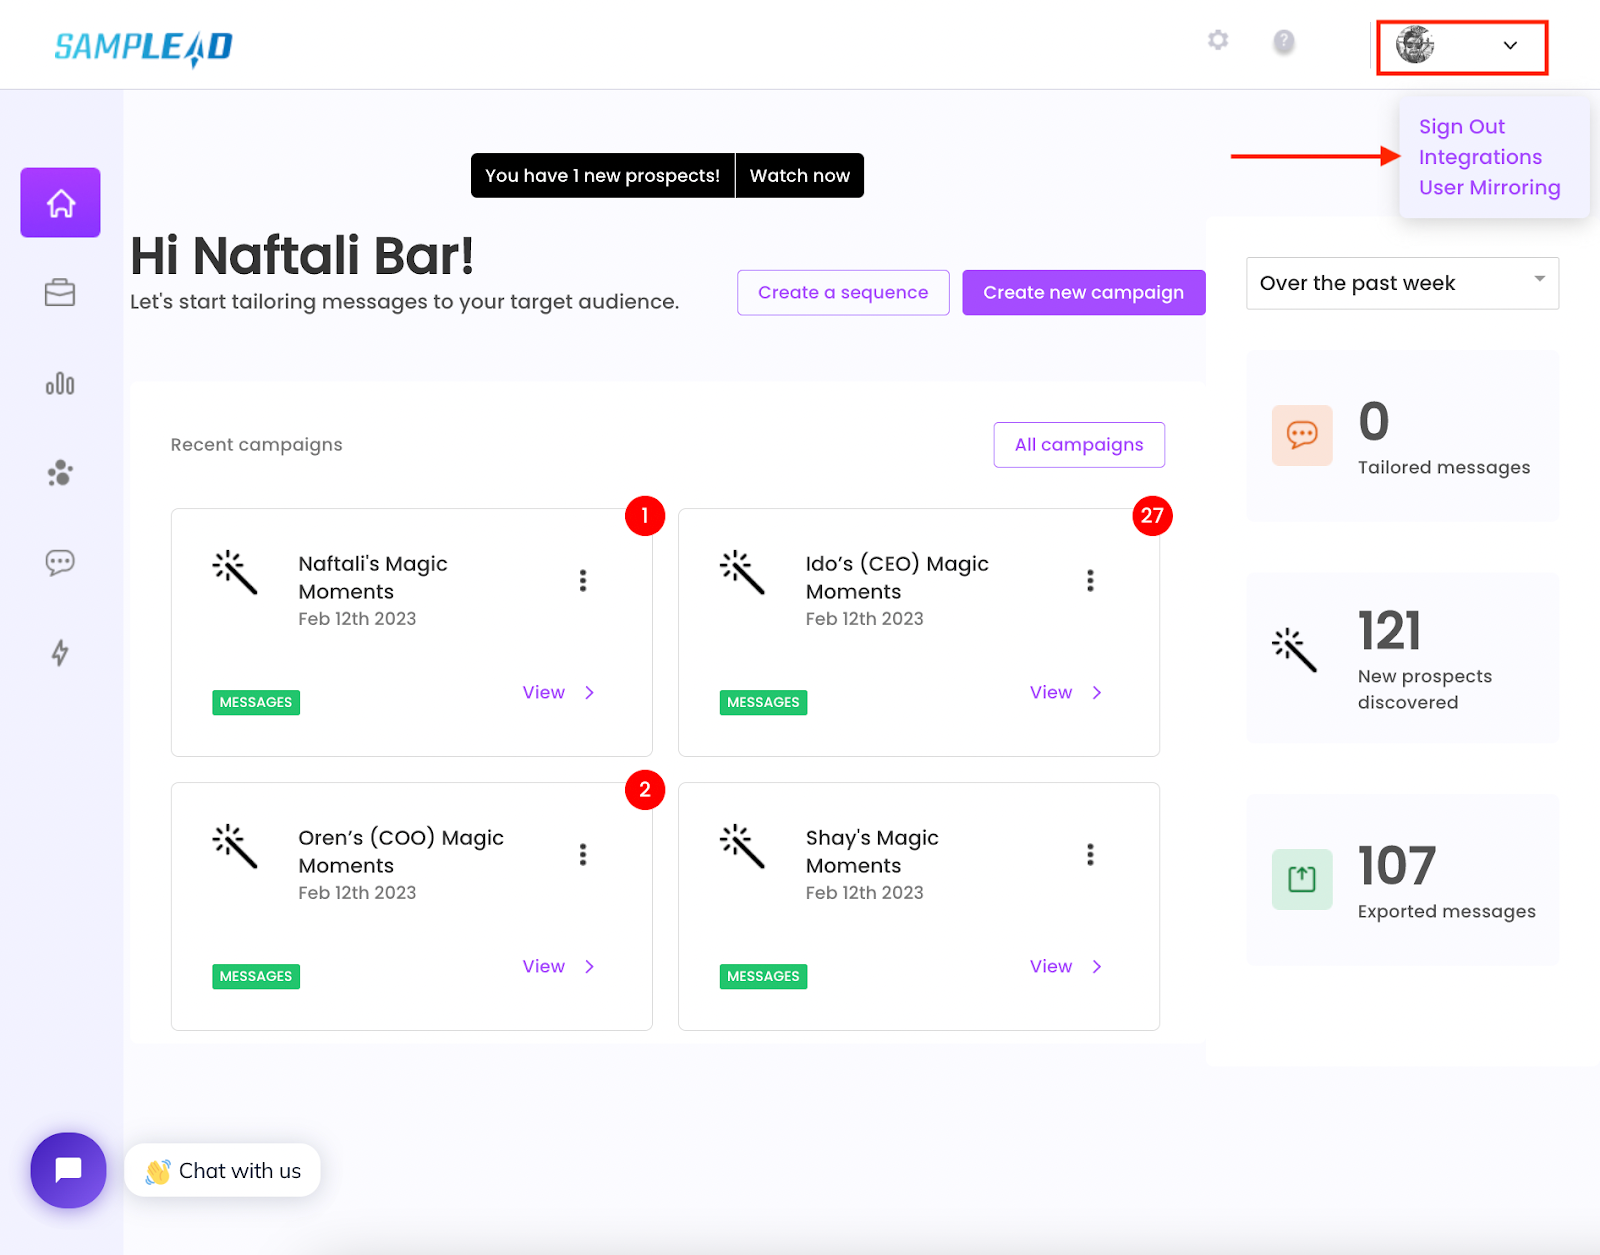
- The first step in blacklisting a user is to navigate to your integrations page. In order to find this, click the dropdown menu in the top right corner. Once you’ve done this, you will be able to see the “integrations” prompt.
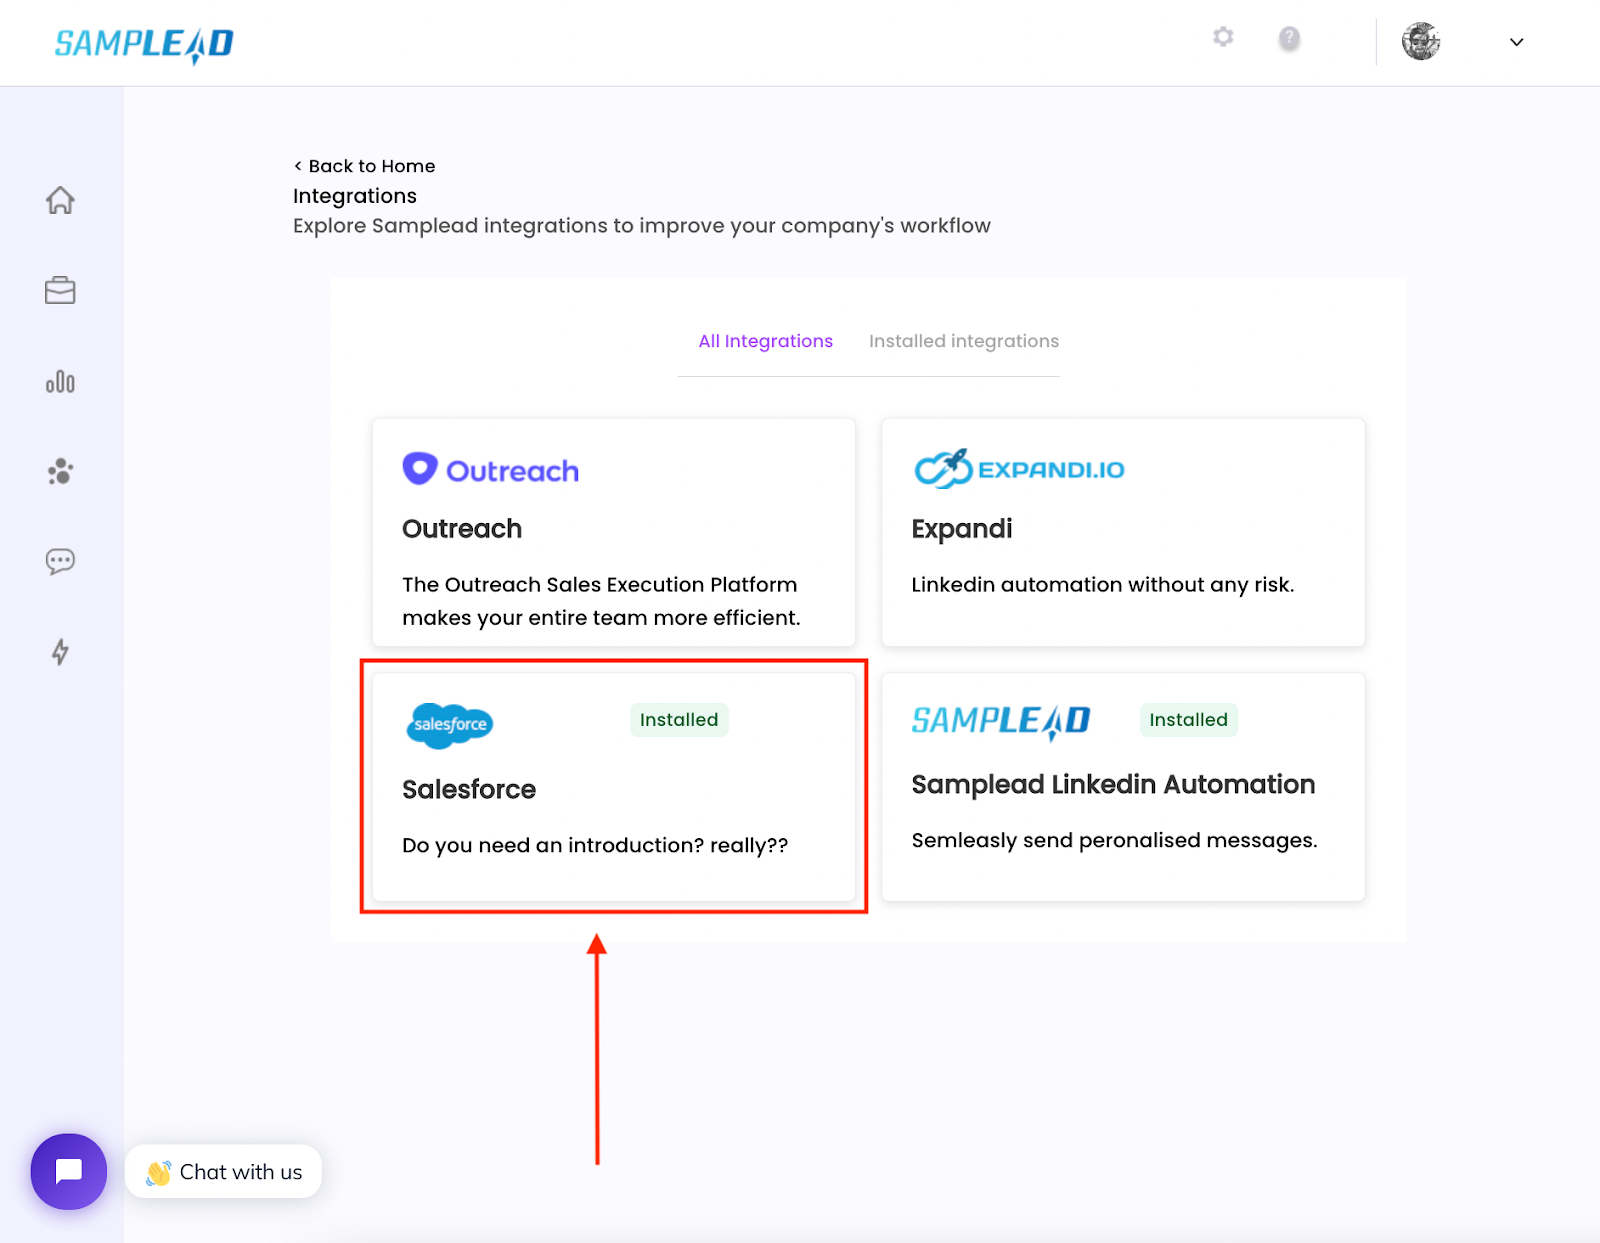
- Once you’ve reached the integrations page, you will access the salesforce tab by clicking on the “Salesforce” prompt.
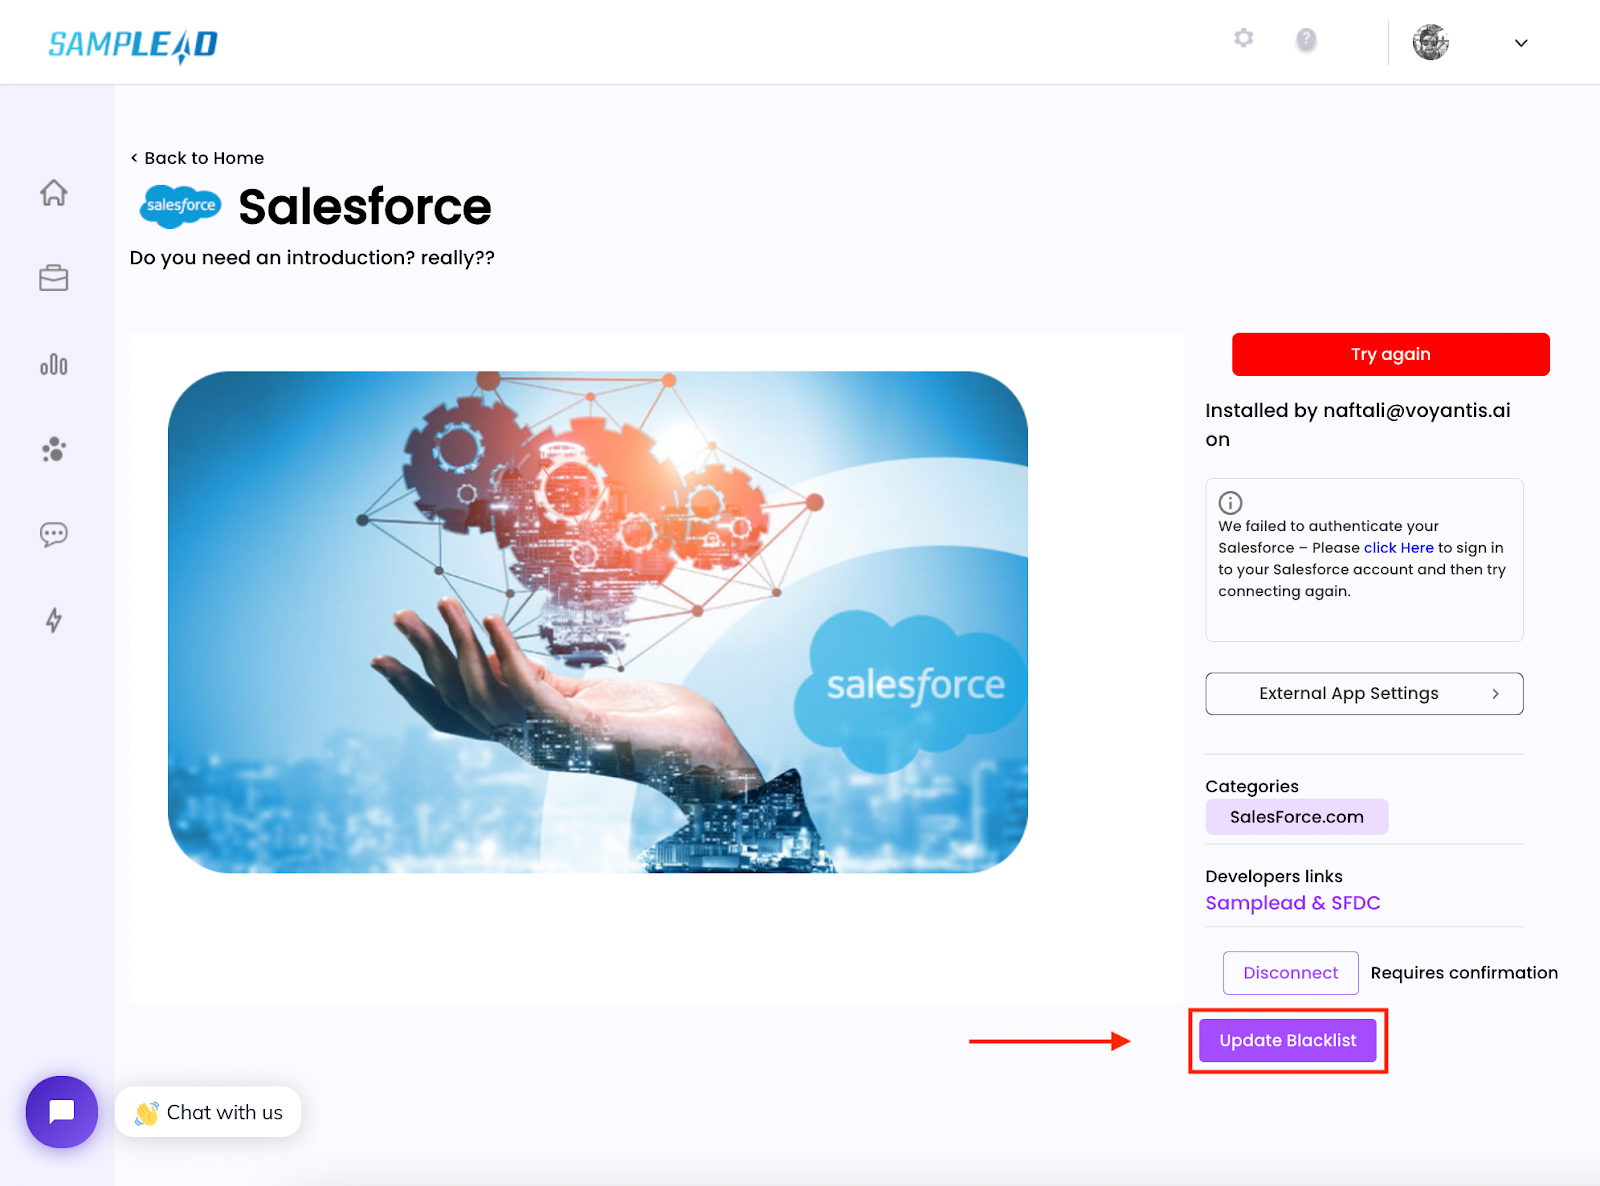
- This will bring you to the Salesforce dashboard via Samplead. In the bottom right corner, a prompt that says “update blacklist” will appear. This prompt will allow you to adjust the profiles that you want to blacklist.
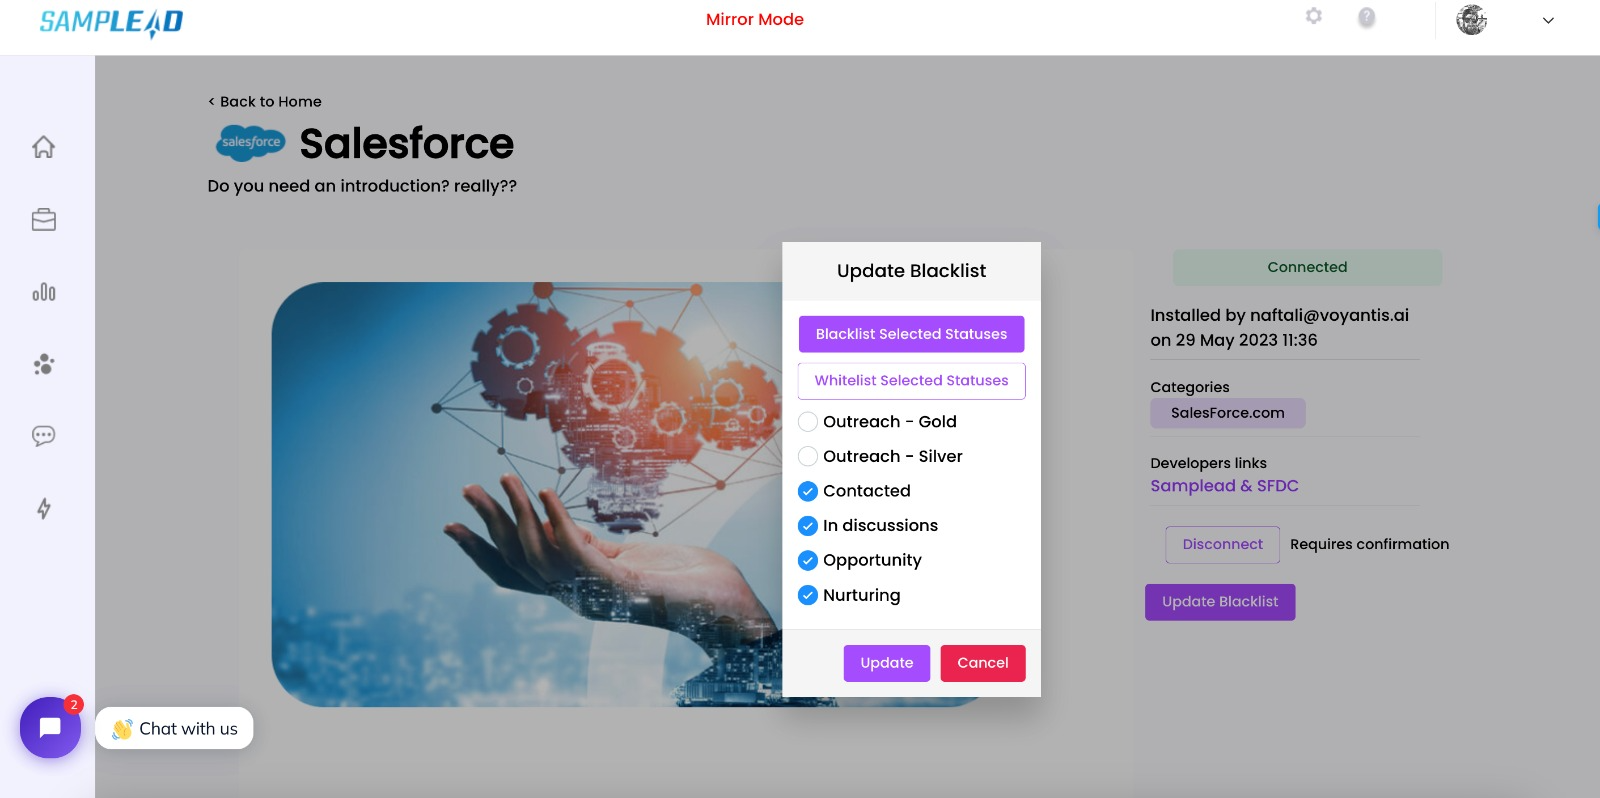
- From here, you should select any profile statuses that you would not want to be suggested or contacted by our program. Some examples of statuses that you can blacklist are profiles that have been previously contacted or have had active discussions with.
- It’s very important that you remember to blacklist profiles that you do not want contacted as a potential new prospect. This type of discourse can be detrimental to your relationship with customers and can jeopardize business deals. We hope this article helped.
- If you have any questions, please contact customer support.
